


When you watch a film set in the past (or basically any A24 film) you may notice a certain je ne sais quoi to the cinematography evokes a warmth and sense of realism, or even nostalgia, as you watch. One of the main influences on this aesthetic choice is called film grain (or a film grain overlay), commonly used to keep footage from feeling too perfect.
In the days of physical film, before digital photography, film grain was caused by dye clouds (small metal particles in the film) receiving enough light during processing. It’s one of the reasons old movies just feel like old movies. It’s also one of the reasons that directors choose to use physical film, to give the outcome a different texture and quality. Now that filmmaking has largely gone digital, similar effects must be applied in post-production, since the chemical process that creates grain no longer takes place during processing the film.
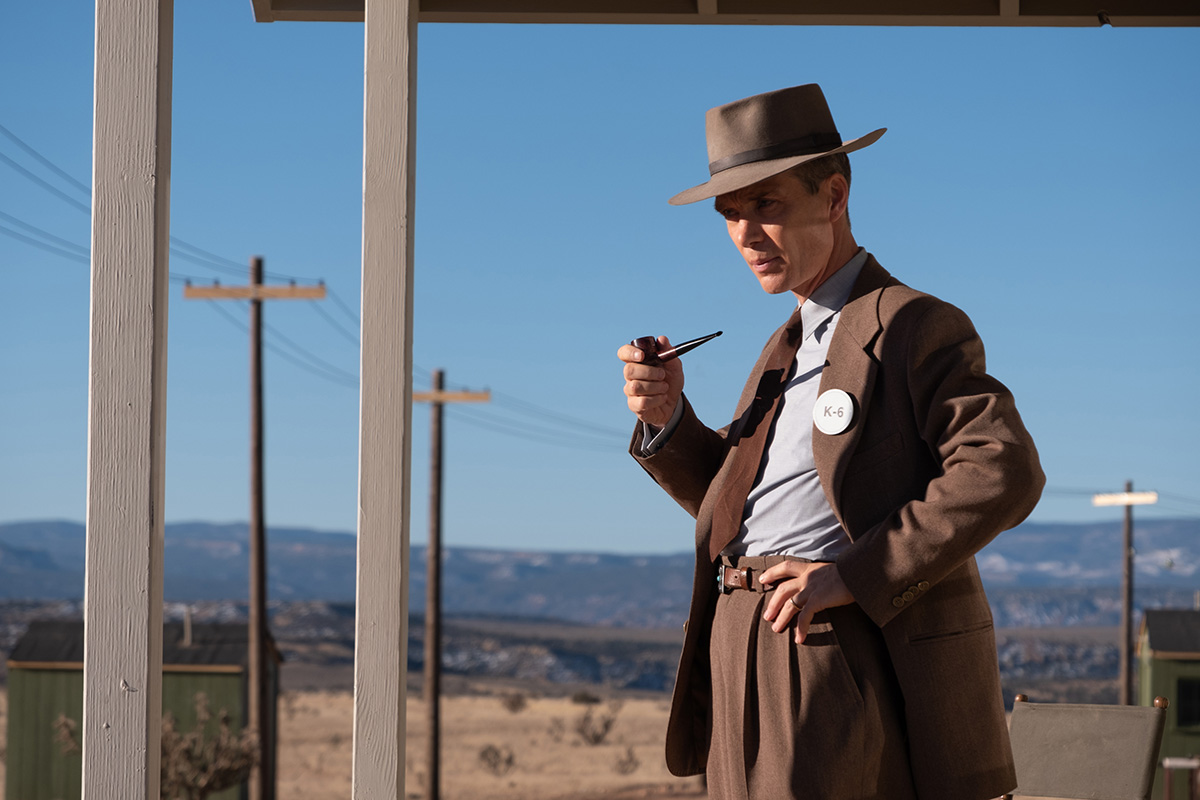
Take, for example, Christopher Nolan’s “Oppenheimer,” which was shot with film cameras (primarily IMAX 65 mm for those of you who want to nerd out).

Image via Universal Pictures
The final product feels very true to the time the movie was set in, even though the picture was very clear and done with some of the highest quality technical tools available.

Image via Universal Pictures
Even in the black and white scenes, there’s a warmth and organic quality that’s somehow surprising given that it was filmed in 2022.

What is a film grain overlay?
Film grain overlay (FGO, for short) is the digital version of the film grain filmmakers used to get from physical film, injecting similar levels of random opacity into the digital file. It creates what is called “digital noise,” making an image or video appear less crystal-clear and more vintage.
You might have also heard the term “film granularity” used interchangeably with film grain, but they’re not quite the same. Film granularity is the term used to quantitatively describe the density or intensity of the grain’s effect.
So why use an FGO?
Today’s cameras and lenses deliver such a high level of precision and clarity in the footage they capture and aren’t limited by the chemistry of film. In a sense, that’s great, because it preserves the authenticity of what happened. However, just because the captured footage is true to the way it took place, doesn’t mean it feels like it should when it’s played back.
As a filmmaker, you may wish to convey a sense of nostalgia to illustrate a flashback, or perhaps the aesthetic you’re going for is “organic” and having the feeling of seeing something through your own eyes (which typically aren’t perfect either). If either of those situations were the case, having “perfect” footage would take the viewer out of the realm of believability, especially when we tend to view memories through rose-colored glasses as humans.
Using the overlay in post-production allows a lot of versatility with the footage you already have. You don’t have to source a special camera or the film that goes with it — you can simply use your existing tools to achieve a similar effect.

Five quick steps to add a film grain overlay
WeVideo offers several different premade overlays you can use to add a film grain to your projects. Experiment with different effects to find the one that works best for your needs.
Now, let’s get started.
1. Make a second video timeline
To begin creating your effect, you’ll need to create a separate video section for the overlay.

2. Find a film grain
Then, go to the video library in the top left menu, and use the search term “film grain” to find your options.
3. Make your selection
Drag and drop the one you want to work with to your second video timeline.

4. Edit the overlay
Now, you’ll notice that the new film grain overlay video blocks out your original video. To fix this, you’ll need to adjust the opacity of the film grain overlay. Simply click on the film grain video to select it, then click the Edit button above the video timeline.
5. Adjust opacity
From this screen, adjust the video opacity to be between 20-30%. Click Done and admire your work.

Editing and troubleshooting
Adjusting colors
Sometimes, adding an overlay results in a darker clip or image. If you need to address the contrast or visual levels after the filter is applied, simply select the original clip from your timeline and click Edit. Visit the Color tab of the menu on the left and you can make adjustments to the underlying visual.

Key out undesired colors
Additionally, you may wish to make an effect less pronounced on your video. If there is a black flicker or static on the overlay, it may darken your original clip more than you like. To remove this, you can “key out” the undesired color and make it transparent.
To modify this, select the overlay and go back to your editing panel. This time, click on the Keying tab.
To make black overlay/noise transparent, enter in the code #000000 and save your changes. If you would like to make a different color transparent, you also can click on the dropper tool and click on the color on screen you’d like to make transparent.

Of course, subtlety is key to achieving the most realistic effect. You’ll want to make sure that you use the lowest visible setting with any overlay. Less is definitely more if you want to mimic the appearance of real film.

Start experimenting with film grain overlays
Whether or not you choose to use a film grain overlay depends entirely on the feeling you’re trying to evoke or the story you’re trying to tell. If you want to indicate you’re looking back in time, perhaps to share a piece of history, or encourage warm, fuzzy feelings when viewers watch, a film grain overlay is an effective way to add an extra layer of believability to your project.
You don’t need any special gear to take advantage of this powerful storytelling tool. Simply follow the instructions above on your existing videos to create a look and feel that takes your next creative project to the next level.